Creating password-protected ZIP files on a Mac is a practical method to securely store your files or send them safely over the internet. Creating password-protected ZIP archives is not directly possible via the Finder menu. In this blog post, we'll show you how to create password-protected ZIP files using Terminal and through a free Quick Action in macOS.
Creating Password-Protected ZIP Files via Terminal
- Open Terminal: You can find Terminal in your 'Utilities' folder, which is located in the 'Applications' folder.
- Navigate to the desired directory: Before creating a ZIP archive, navigate in Terminal to the directory containing the files you want to compress. Use the
cdcommand to switch to the appropriate folder. For example:
cd /Users/YourUsername/Documents/MyDocuments- Create the password-protected ZIP archive: Use the
zipcommand together with the-eoption to create the archive and add a password. Here's an example command that compresses the file "Example.pdf" into a password-protected ZIP file named "Example.zip":
zip -e Example.zip Example.pdf- After entering this command, you will be prompted to enter and confirm a password. This password will be required to extract the archive later.
Automating with a Quick Action
While Terminal offers a powerful method, not every Mac user may be familiar with its command-line interface. For this reason, I developed a Quick Action that automates the process and makes it accessible directly through Finder.
- Download Quick Action: The Quick Action is available free to all readers of my blog and can be downloaded here.
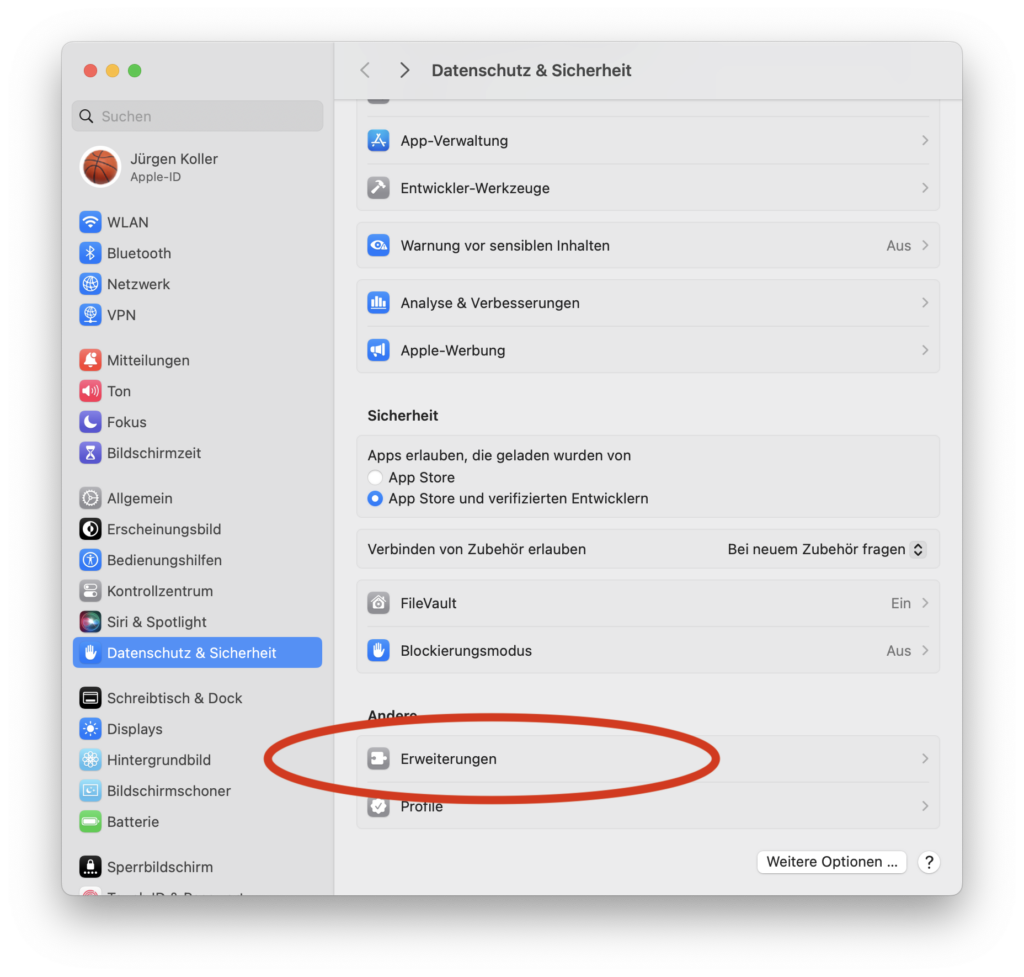
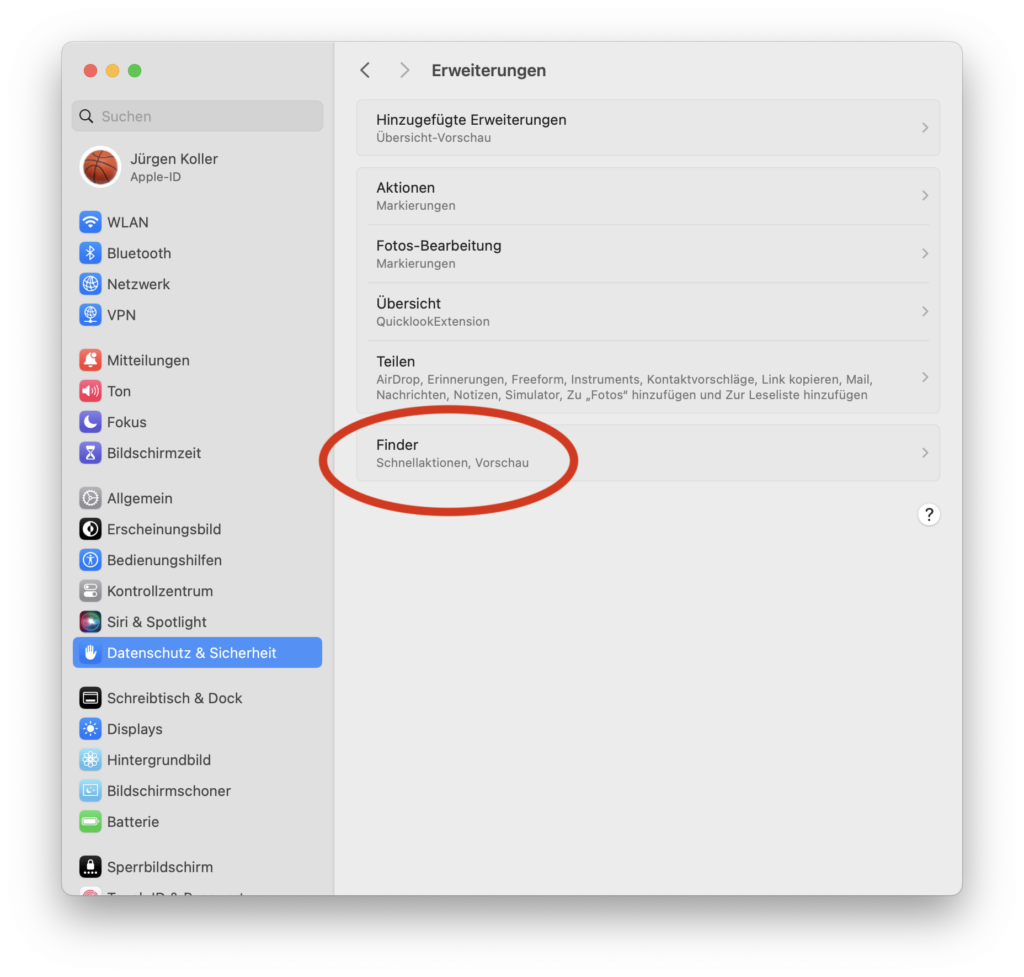
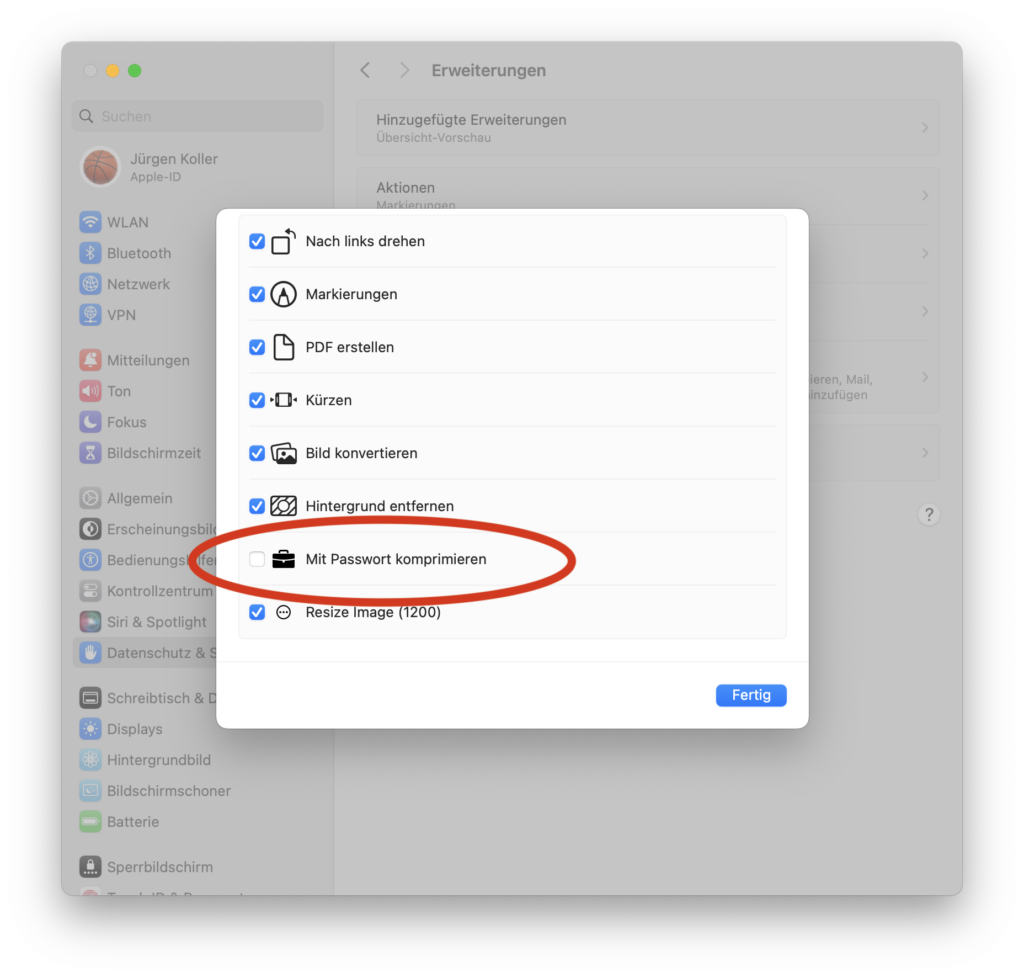
- Installation: After downloading, open the file and the system will guide you through the installation. Afterwards, the Quick Action will be available in Finder.


Third installation step: Then select 'Finder' to choose the corresponding popup.

- Usage: Simply right-click (or Ctrl-click) on the file or folder you want to compress, select "Quick Actions" and then "Compress with Password". You will be prompted to enter a password, and the ZIP file will be automatically created.

Why Use a Password-Protected ZIP File?
- Data Privacy: Protect sensitive information from unauthorized access.
- Security during transmission: Send files securely over the internet without worrying about data leaks.
- Organization and order: Keep related files together while reducing storage space.
The ZipCrypto used by macOS, the oldest encryption format for ZIP files, offers only basic protection and is vulnerable to various types of attacks, including brute-force attacks and other known vulnerabilities. If you need to upload files to the cloud and therefore require stronger protection, additional solutions using more modern zip algorithms are available. Interesting alternatives are described, for example, in the blog article 'How to Password Protect a ZIP File: Your Options on Mac' by Olha Novitska.
Conclusion
Whether you prefer Terminal or want to enjoy the convenience of a Quick Action, creating password-protected ZIP archives on your Mac can be done simply and quickly. With the provided Quick Action, I hope to make the process accessible to every Mac user. Try it out and experience yourself how easy it can be to securely compress and protect your files.
